
Follow Me On Social Media!

How to Upcycle Old Picture Frames in 10 Brilliant Ways
How to Upcycle Old Picture Frames in 10 Brilliant Ways
How to upcycle old picture frames has been an ever-growing topic among crafters and decorators alike. As the trend of sustainability picks up momentum, more people are looking for ways to transform unused items into beautiful and functional home decor. If you happen to have some old picture frames lying around, you’re in luck! This article presents ten creative ways to breathe new life into those dusty corners of your home. Each method not only serves as a fascinating craft activity but also allows you to express your creativity while making your space uniquely yours.
What Makes This Project Stand Out
The art of upcycling has gained significant traction in recent years. This is primarily due to the growing desire for environmentally conscious living and appreciating the stories behind older objects. Upcycling old picture frames offers emotional satisfaction, as it transforms forgotten treasures into stunning statement pieces. Moreover, with each project, you also cultivate a sense of accomplishment, knowing that your creativity is helping reduce waste.
Practically speaking, you can customize your decor to reflect personal style, create memorable gifts, or crafting keepsakes that hold sentimental value. The culinary creativity found in kitchen endeavors is strikingly similar to the imaginative spirit of DIY crafts. Both celebrate innovation while allowing for exploration and expression. Whether painting, embellishing, or transforming frames into multi-functional pieces, the possibilities are almost endless, thus making it a rewarding activity for individuals or families alike.
Ingredient Breakdown
To effectively upcycle old picture frames, you will need a handful of materials and tools to set the creative wheels in motion. Here’s a list of what you might need for the projects:
- Old picture frames (different sizes and styles)
- Paint (spray paint or acrylic)
- Sandpaper or sanding block
- Decorative paper or fabric
- Mod Podge or glue
- Scissors
- Twine or ribbon
- Clips, hooks, or hardware (as needed for specific projects)
- Craft embellishments (like shells, buttons, or beads)
- Stencils (optional for designs)
Each ingredient plays a specific role in your upcycling journey. Old picture frames serve as the foundational structure that will ultimately capture your creativity. Paint is essential for revitalizing those frames with color and personality, allowing you to transform their look radically. Sandpaper prepares the frames by removing any old finishes, which ensures that new paint adheres well.
Decorative papers or fabrics can add texture and interest, creating vintage, bohemian, or contemporary vibes, depending on your choice. Mod Podge or strong adhesive will hold everything together, offering the power of versatility as it works for both paper and fabric. Scissors will come in handy for trimming decorative materials, while twine or ribbon can serve not just for decoration, but also for practical hanging solutions. Finally, craft embellishments and stencils help personalize your project, making it meaningful and distinct.
| Materials | Purpose |
|———————–|————————————————–|
| Old picture frames | Foundation for all projects |
| Paint | Revitalize appearance |
| Sandpaper | Prep surfaces for painting |
| Decorative papers | Add texture and visual interest |
| Mod Podge or glue | Secure materials together |
| Scissors | Trim materials |
| Twine or ribbon | Create hanging solutions or decorative accents |
| Embellishments | Personalize and enhance aesthetic appeal |
Step-by-Step Preparation for Upcycling Old Picture Frames
Before diving into your creative projects, it’s essential to properly prepare your workspace and gather your materials. Here’s a structured guide to help you through the crafting process.
Step One: Gather and Clean Materials
Start by collecting all your old picture frames. Check each frame for any damage, and set aside any broken pieces for later projects or repairs. Clean each frame thoroughly with a damp cloth to remove dust, dirt, and grease that may have accumulated. This initial step ensures the new materials will adhere and interact well with the frame’s surface.
Step Two: Decide on Your Projects
Evaluate the various ways you want to upcycle the frames. Are you interested in creating a unique wall collage, or perhaps you want to make a decorative shelf for your photos? By deciding on your projects beforehand, you’ll have a clear vision and purpose for each frame, which will streamline your process.
Step Three: Prepare the Frames
Depending on the end goal, you may need to sand down the frame surfaces to remove existing finishes. This will help your new coat of paint to stick better. If you’re using multiple frames, consider varying the techniques—for instance, a rustic charm effect on one frame and modern chic on another.
Step Four: Start Crafting
Now that your frames are clean and prepped, it’s time to unleash your creativity! Follow the specific instructions for your chosen projects. Whether painting, adding decorative materials, or even constructing something entirely new, this is where you can have fun. Take your time to let your ideas flow!
Full Cooking Directions
To upcycle old picture frames successfully, follow this comprehensive guide that encapsulates the essence of your projects.
Begin by gathering all your ingredients in one workspace. Ensure that you have ample room to maneuver and express your creativity. With a tabletop cleared, arrange your old frames according to the envisioned projects. If you’re using paint, choose a well-ventilated area or go outdoors to minimize fumes. Spray paint can create a beautifully smooth finish, while brush paint allows for more detailed application.
Next, if you’re opting for a wall collage, lay out the frames on the floor first. Position them in various arrangements until finding the perfect configuration that suits your space. Trace around the frames onto the wall with a pencil to visualize where each frame will hang. Remember, transitions between the styles of each frame contribute to the unique character of your collage.
Once you’re happy with the layout, it’s time to paint. Apply a coat evenly, allowing it to dry completely before adding additional layers or detailing. Use painter’s tape along the edges for cleaner lines if you’re combining colors. After the paint dries, consider embellishing with decorative paper or fabric. Mod Podge is your best friend here—it secures materials while providing a glossy finish. Brush it on the frame, press the paper or fabric down, and coat again with Mod Podge.
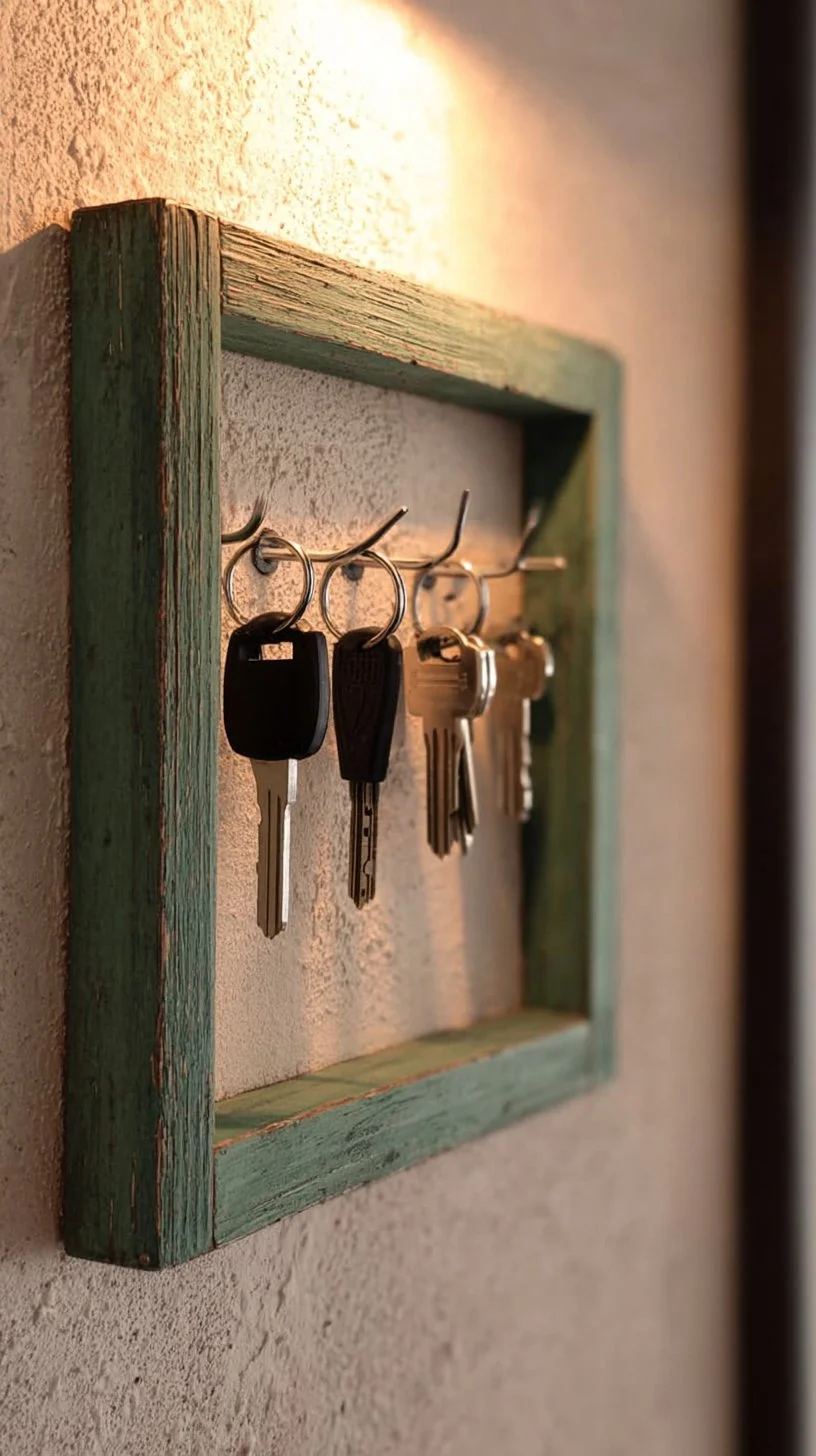
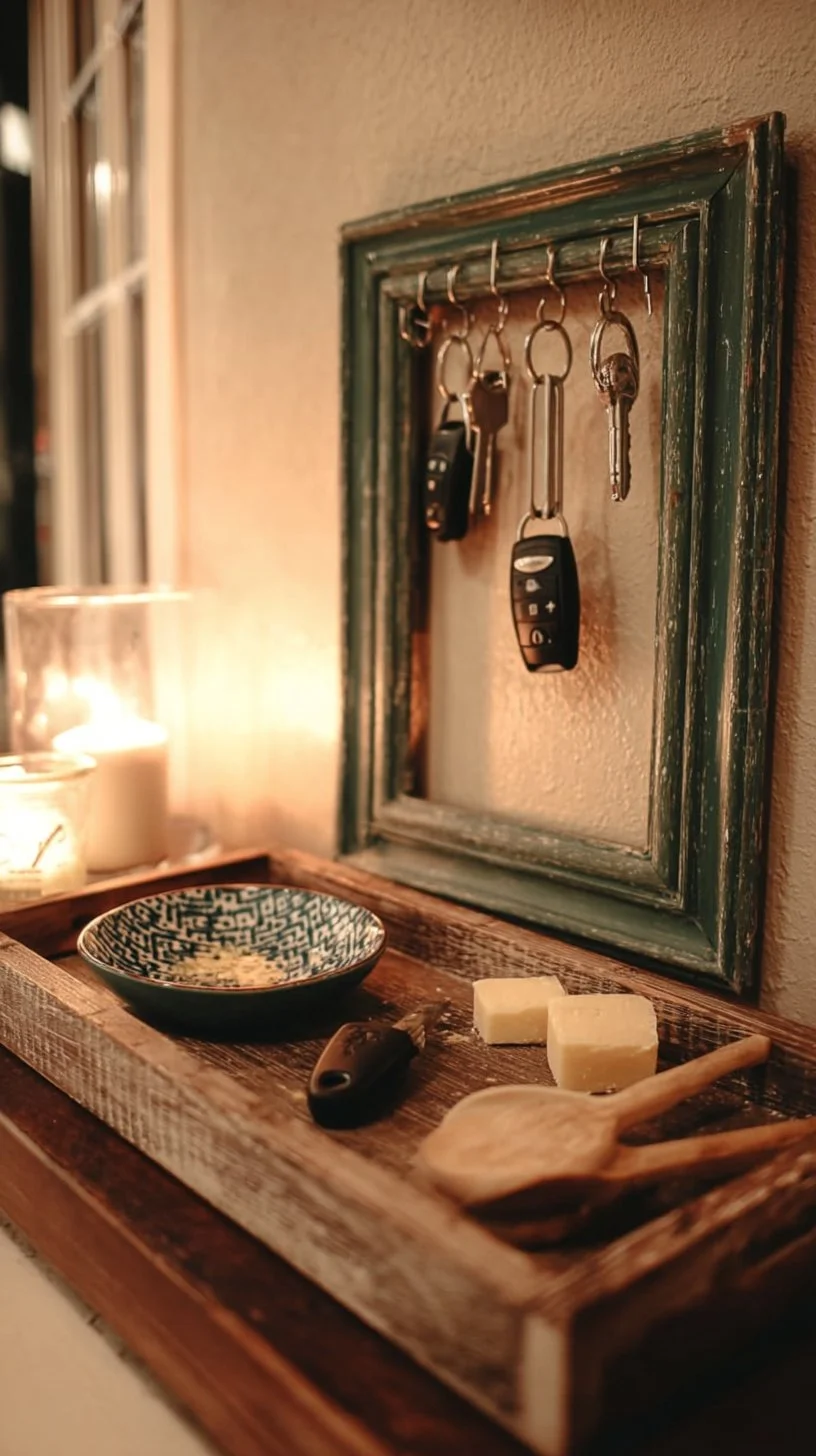
Finishing touches are where your personality shines through. Attach hardware if required, such as hooks for hanging mirrors or clips for art. Use twine or ribbon not just for hanging but also for charming decorative details. You can even glue shells or beads to add an artistic flair.
Finally, take a step back. Observe your creations with pride and a touch of wonder. Upcycling old picture frames can transform mere items into conversation pieces that reflect your individuality.
Pro Tips & Extra Guidance
When embarking on your upcycling journey, keep these insights in mind for a seamless experience. First, don’t hesitate to experiment! Upcycling allows for design freedom, and every misstep can often become a unique enhancement. For example, if an abstract painting doesn’t turn out as expected, it can serve as beautiful background texture for your overall project.
Secondly, consider layering different materials. Old frames covered in fabric can be topped with strings of lights for an enchanting effect. Moreover, if some designs don’t resonate with you upon completion, simply repaint or refinish them to inspire new creativity.
If you’re working on a large wall installation, make sure to use a level when hanging frames to ensure they are evenly spaced. You might also want to take pictures of each step if you plan on sharing your creations online, generating a fun story out of your journey.
Best Practices for Storing & Reheating
Once your project is complete and you’ve admired your work, you’ll want to ensure it has a long life. First, avoid direct sunlight on frames adorned with decorative papers and embellishments, as prolonged exposure can fade colors. Keep your frames in a climate-controlled environment to minimize warping or deterioration.
Cleaning your upcycled frames is simple. Use a soft, dry cloth to dust off surfaces or a barely damp cloth for more stubborn spots. Remember, avoid harsh chemicals—they can damage the materials used.
For seasonal decor pieces, consider storing them in an acid-free wrapping paper or boxes. This minimizes exposure to dust and light, while also preventing scratches or breaks.
Common Questions Answered
What kind of paint is best for upcycling picture frames?
Acrylic and spray paint are both excellent choices. Acrylic provides good coverage and is easy to work with, while spray paint offers a smooth finish without brush marks.
Can I use fabric instead of paint?
Absolutely! Fabric can bring a unique texture and softness to your frames. Just make sure to use a strong adhesive, like Mod Podge, and seal it to keep everything secure.
Do I need to sand the frames before painting?
Sanding is a useful step to ensure old finishes are removed and allows the new paint to adhere better. It’s not strictly necessary, especially if you’re using fabric or paper decorations.
How can I make sure my frame doesn’t fall off the wall?
Be sure to use quality hardware for hanging, particularly if the frame is heavy. For lighter frames, adhesive hooks may be suitable, but always ensure the surface is clean and dry for optimal adherence.
Can I create a collage with different types of frames?
Yes! Mixing and matching shapes and colors can create a beautifully eclectic look. Play around with arrangements on the floor before drilling into your walls for a perfect finish.
What should I do if the paper or fabric I used starts to peel?
If peeling occurs, apply an additional coat of Mod Podge or adhesive to secure it back in place. Making sure edges are well-sealed can prevent peeling from occurring again.
How can I personalize my frames further?
Consider adding family photos, artwork, or even quotes that resonate with you. Stenciling designs or using temporary tattoos can also enhance the individuality of your frames.
Final Thoughts + Call to Action
How to upcycle old picture frames opens up a world of creativity while embracing sustainability. Each project becomes a delightful adventure, allowing your personality to shine through vibrant designs. So, gather your materials, engage your creative spirit, and embark on an upcycling journey that transforms straightforward frames into exquisite expressions of art and sentiment. Whether you gift your creations or keep them for yourself, remember, the heart of crafting lies in sharing and creating joy. Don’t wait; go ahead and let the upcycling magic of your old picture frames unfold!