
Follow Me On Social Media!

Bathroom Wall Shelf, Wooden Towel Rack, Towel Rack With Shelves, Bathroom Decor, Bathroom Storage Rack, Bathroom Storage Rack – Etsy UK
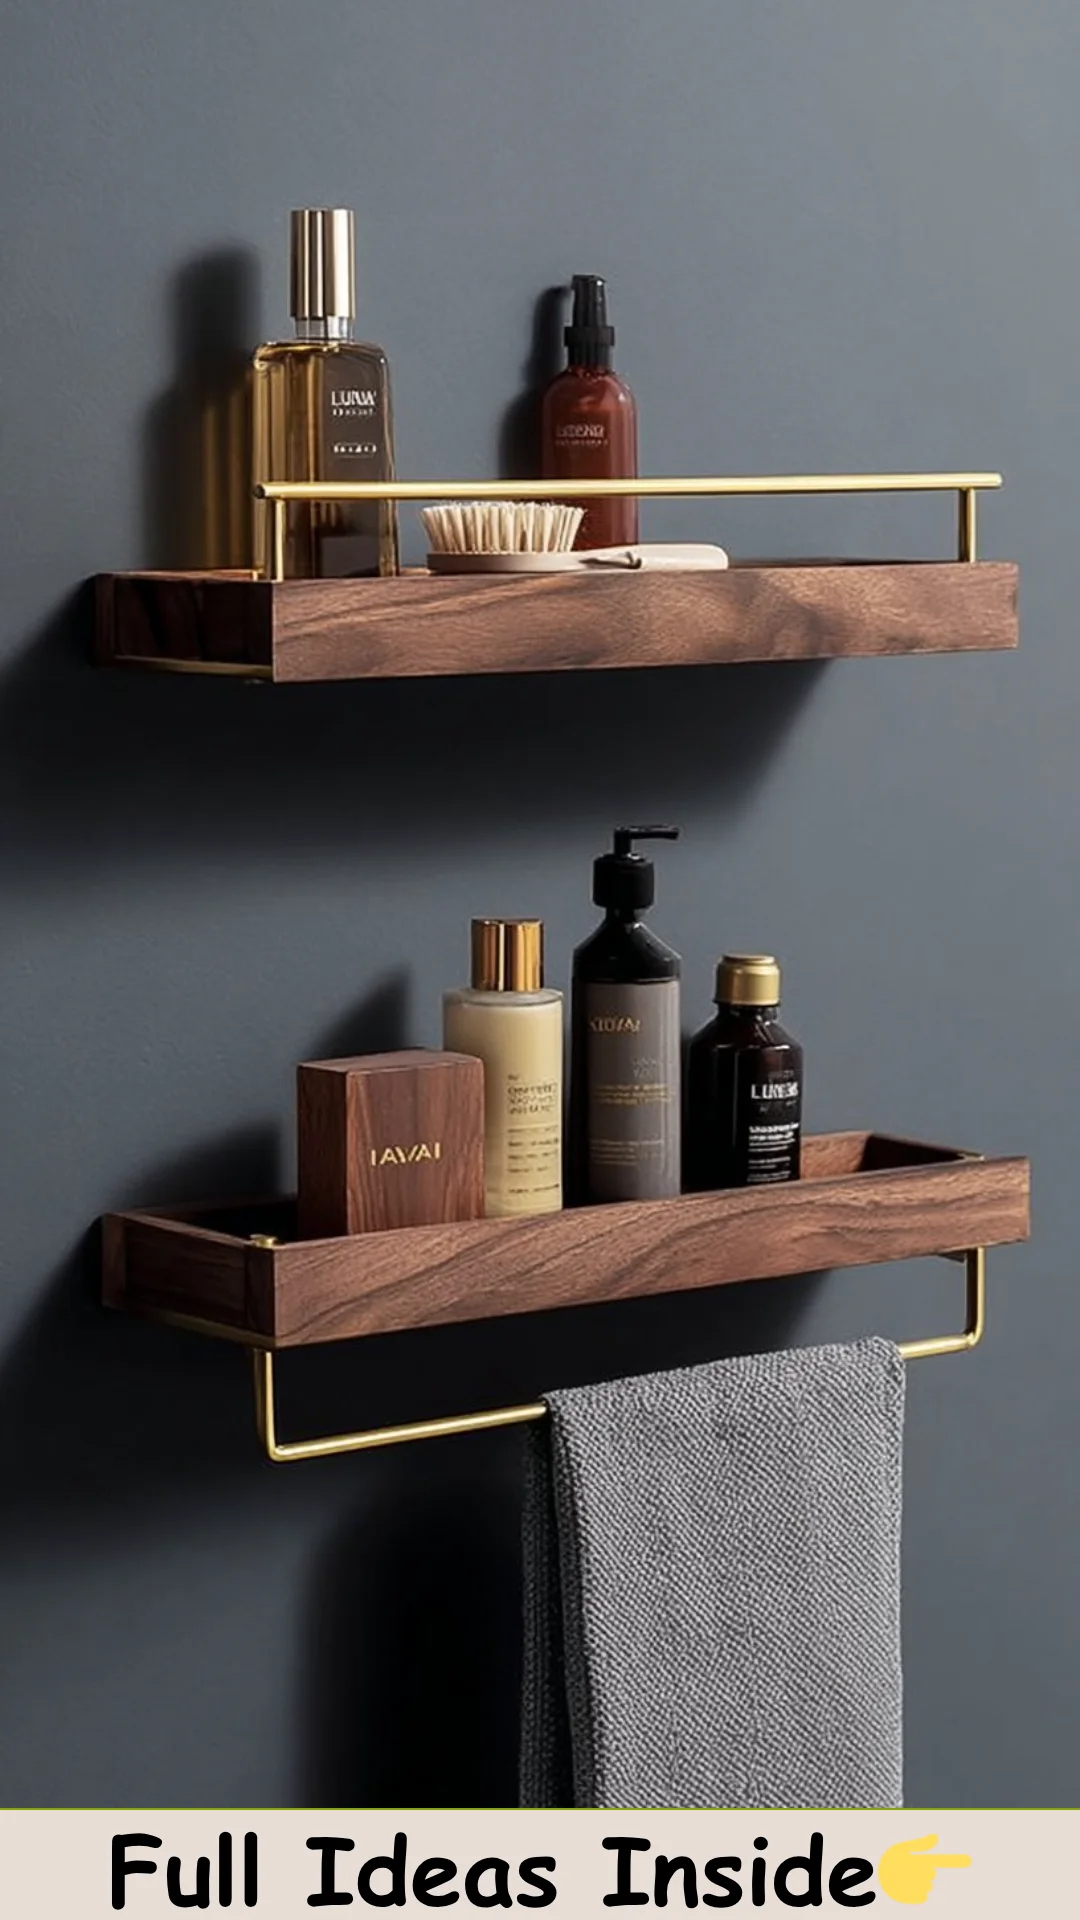
Bathroom Wall Shelf: A Functional & Stylish Addition to Your Space
Bathroom Wall Shelves not only serve as practical solutions for storage but also enhance the overall aesthetics of your personal sanctuary. Imagine stepping into a bathroom that showcases carefully curated decor, neatly organized towels, and a space that feels open and inviting. The beauty of a well-designed bathroom doesn’t solely lie in its fixtures but also in clever storage solutions like a wooden towel rack. Adding a towel rack with shelves can transform your bathroom, saving space and offering a place for all your essentials. Let’s explore how you can make the most out of your bathroom’s potential.

What Makes This Bathroom Wall Shelf Recipe Stand Out
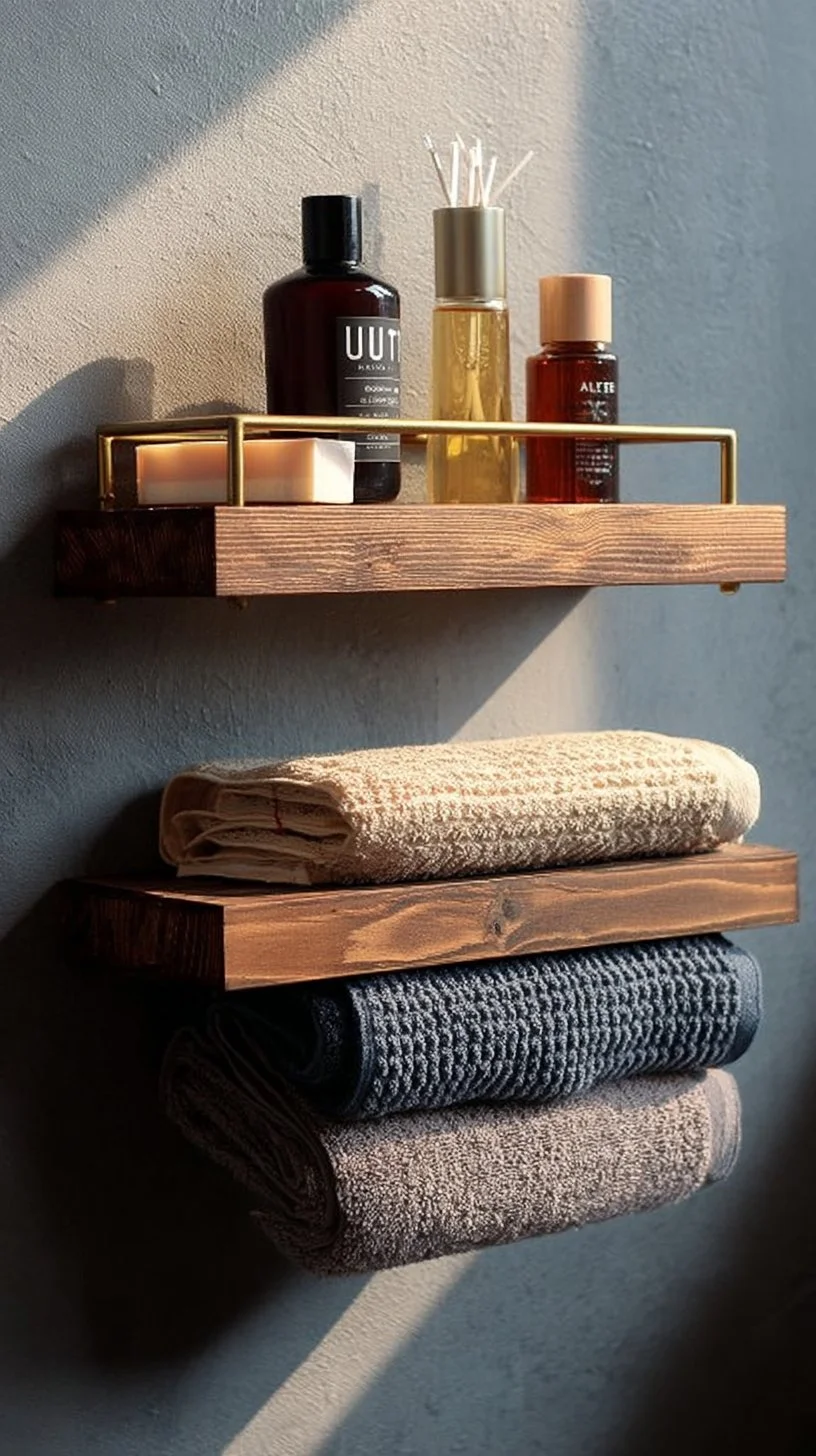
What sets this bathroom wall shelf apart from other typical storage solutions is its multifunctional capability and stylish design. Not only is it crafted to hold towels, but it also accommodates decorative items, scented candles, or your everyday toiletries, marrying functionality with flair. The use of natural wood lends a warm touch that enriches your bathroom vibe with a rustic or contemporary feel, depending on your decor. Moreover, having a practical wooden towel rack enhances the organization of your space, making bathroom activities smoother and more efficient.
Crafted with care, this DIY project involves minimal tools and materials, allowing even beginners the chance to dive into home improvement while experiencing the joy of creating something by hand. It’s manageable yet satisfying when you complete this project, elevating your bathroom into a tidy haven that reflects your style.
Ingredient Breakdown
- Wooden planks (for the main shelf)
- Wood screws
- Sandpaper
- Wood stain or paint (optional)
- Wall anchors and brackets
- Drill
- Level
- Measuring tape
- Paintbrush (if staining)
Creating a stunning wooden towel rack involves selecting the right materials, starting with sturdy wooden planks. These are the backbone of your shelf; you’ll want to choose quality wood that can withstand moisture and daily use. The wood screws ensure that the shelves can hold up even the heaviest items without succumbing to wear and tear. Sandpaper is essential for smoothing the wood, ensuring a polished finish that feels good to the touch and looks great too.
As for the wood stain or paint, it not only adds a personal touch but also provides a protective layer against humidity, which is crucial in a bathroom setting. Wall anchors and brackets form the foundation for securing the shelves to the wall, preventing any unwanted accidents. Utilizing a drill, a level, and a measuring tape ensures proper installation and alignment, leading to a professional-looking result. Lastly, a paintbrush helps to evenly apply your chosen stain, creating a stunning and durable finish.
| Ingredient | Purpose |
|———————|—————————————–|
| Wooden planks | Main structure for shelves |
| Wood screws | Secure shelves and ensure stability |
| Sandpaper | Smooth surfaces for aesthetics |
| Wood stain/paint | Enhance appearance & protect wood |
| Wall anchors/brackets| Secure shelving to walls |
| Drill | For easy installation |
| Level | Ensure even shelves |
| Measuring tape | Accurate measurements |
| Paintbrush | Apply stain or paint evenly |
Step-by-Step Preparation for Bathroom Wall Shelf
Step One: Gather Your Materials
Begin by collecting all your materials and tools to streamline the process. Assemble your wooden planks, screws, and sandpaper first, ensuring you have everything at hand. Choose a spot in your bathroom where you want to install the shelf. Using the measuring tape, mark the width and height on the wall where the shelf will go. This ensures you have a clear vision of how it will look and helps in preventing any mistakes later on.
Step Two: Prepare the Wood
Now that you have your materials, it’s time to prepare the wood. Use sandpaper to meticulously smooth out any rough edges or surfaces on your wooden planks. This process is vital, as it not only aids in achieving a refined look but also prevents splinters from forming. After sanding, you can choose to apply a wood stain or paint to the planks. Remember to let it dry completely according to the product’s recommendation before moving on.
Step Three: Install the Supports
Next, focus on installing the supports for your shelves. Use your measuring tape to determine the exact spots for your wall anchors and brackets. Precision is key here. Make small pilot holes for the screws, ensuring they are level. This will make it easier for your wall anchors to hold firmly in place. After placing the anchors, attach the brackets and ensure they are secure. This step is crucial—your shelves will rely on their support, so take your time to get it right.
Step Four: Attach the Shelves
Finally, it’s time to attach your prepared shelves. Place the stained or painted wooden planks onto the brackets and secure them with the wood screws. Double-check that everything is level with your level tool. If it’s not, adjust as necessary before tightening all screws. Once everything is secure, step back and admire your handiwork. Your new bathroom wall shelf is ready to serve its purpose while adding a beautiful element to your space!
Full Cooking Directions
Creating your bathroom wall shelf is a fulfilling process. You begin by taking the time to prepare your space and materials, leading to a well-structured foundation for your project. Using the right tools, you can easily install wall anchors and brackets, ensuring they’re bolted into the studs when possible for maximum stability. After securing the supports, you will have an adequate base for your shelves, making your bathroom not only more beautiful but more functional as well.
Each part of this project feeds into the next, from the preparation of your wood to the installation of the shelves. By taking the time to achieve smooth finishes and secure fixtures, you ensure that your new bathroom décor looks polished and will last for years to come. Therefore, by following each step diligently, you empower yourself to create an exceptional storage solution in your bathroom.
Pro Tips & Extra Guidance
To elevate your DIY project further, here are some additional tips and insights. When selecting your wood, consider using moisture-resistant materials, especially if your bathroom tends to be steamy. Avoid plywood as it may warp over time. Instead, opt for hardwoods or specially treated plywood designed for humid environments.
If you’re unsure about your staining technique, practice on a scrap piece of wood first. This allows you to see how deep the color will appear once applied. Also, consider adding decorative brackets for a unique touch that expresses your style.
During installation, it’s highly beneficial to have a level on hand at every stage of the process. This will help you avoid the hassle of readjusting after completing the installation. Additionally, use a stud finder to locate wall studs before anchoring the brackets, as this ensures that your shelves can hold heavy items without any issues.
Best Practices for Storing & Reheating
Maintaining the quality of your storage solution is as important as constructing it. To keep the wood in prime condition, regularly check for any signs of moisture damage or warping. Wipe down the surfaces with a damp cloth periodically and consider reapplying a protective coating of stain every couple of years, especially after exposure to humidity.
When it comes to organizing your towels and bathroom decor on your new shelf, ensure that heavier items are placed lower down for stability. Keep lighter decorations or toiletries at the top to enhance visual interest without compromising safety.
Common Questions Answered
What type of wood is best for bathroom shelves?
Opt for hardwoods such as oak or maple, which are more resistant to humidity and can handle moisture better than softwoods. Specially treated plywood is also a good option.
How do I ensure my wall shelf is secure?
Always anchor your brackets into the wall studs if possible. If that’s not an option, use the recommended wall anchors for the specific weight of the items you’ll store.
Can I customize the size of the shelf?
Absolutely! You can adjust the length and width of your shelf according to your bathroom’s space requirements and personal preference.
What stain color should I choose?
Selecting a stain color largely depends on your bathroom’s existing decor. Lighter stains can make the space feel larger, while darker stains add richness and depth.
How do I clean my wooden shelves?
Use a damp cloth to wipe the shelves, avoiding excess moisture that could warp the wood. For deeper cleaning, consider a wood-safe cleaner.
Can I hang decorative items on the shelves?
Yes, decorative items can enhance the overall look. Just ensure they aren’t too heavy and can balance well with any towels or products placed above them.
What should I do if my shelves start to sag?
If you notice sagging, reassess the installation of the brackets or consider adding additional support or reinforcements to the shelves, especially if they are overloaded.
Final Thoughts + Call to Action
Bathroom Wall Shelves are more than just functional essentials—they are a way to transform your space into a reflection of your personal style and organizational needs. By following this guide and implementing your creativity, you can create a beautiful wooden towel rack that is both practical and attractive. So don’t wait any longer; dive into your DIY project, and experience the satisfaction of enhancing your bathroom with a stunning wall shelf today!