
Follow Me On Social Media!

30 Creative DIY Outdoor Shelf Ideas You Can Create Today | Small Wood Projects, Wood Crafts, Easy Woodworking Projects
30 Creative DIY Outdoor Shelf Ideas You Can Create Today
Creative DIY outdoor shelf ideas are perfect for those looking to enhance their gardens, patios, or balconies. With a little wood and creativity, you can design stunning shelves that not only provide a decorative touch to your outdoor space but also serve a practical purpose. Whether you need a space to display plants, house outdoor equipment, or store gardening essentials, these shelf ideas will inspire you to take action. Let’s dive into the art and craft of outdoor shelving together.
What Makes This DIY Outdoor Shelf Stand Out
When you think of outdoor spaces, the addition of DIY outdoor shelves can dramatically transform your area into a visually appealing landscape. Considering their versatility, these shelves can be tailored to suit any space, allowing for personal creativity to shine. Each shelving unit serves both aesthetic and functional purposes, giving you a unique blend of form and function.
The emotional impact is profound as well; a well-designed shelf can become a centerpiece of your garden, attracting admiration from friends and family. Furthermore, the practicality of having dedicated spaces for items such as tools, pots, or decorations makes these shelves indispensable for outdoor organization.
On a culinary note, imagine enhancing al fresco dining experiences with shelves displaying your culinary herbs or even beautiful plates and glassware. Whatever your requirements, these creative outdoor shelf ideas provide the charm and utility necessary for a delightful space.
Ingredient Breakdown
To build your outdoor shelves, you’ll need a specific selection of materials and tools that are rather straightforward. Here’s a succinct list to get you started:
- Treated lumber or plywood
- Wood screws
- Wood glue
- Sandpaper
- Wood stain or outdoor paint
- Brackets (optional)
- Leveling tool
- Saw
- Drill
Now, let’s break down these ingredients for clarity. Treated lumber or plywood serves as the main structural component, chosen for its durability and resistance to the elements. Wood screws will ensure the durability of your construction, while wood glue acts as an additional bonding agent. Sandpaper can smooth out jagged edges, ensuring safety and enhancing the finish of your shelves. For aesthetics and protection, wood stain or outdoor paint will elevate your design, and brackets offer optional support if you plan to hang your shelves. Lastly, the leveling tool will ensure that everything is aligned beautifully, while the saw and drill are key tools for cutting and assembling your shelf. This diverse array of materials and tools will allow you to create different styles of shelves tailored to your individual vision.
| Material | Purpose |
|———————|——————————————————–|
| Treated lumber | Structure and durability |
| Wood screws | Secure connections |
| Wood glue | Additional strength |
| Sandpaper | Smoothing surfaces for safety |
| Wood stain/paint | Aesthetic enhancement and protection against elements |
| Brackets | Optional support for hanging shelves |
| Leveling tool | Ensures shelves are installed evenly |
| Saw | Cutting lumber accurately |
| Drill | Assembling components with ease |
Step-by-Step Preparation for Creative DIY Outdoor Shelves
Step One: Planning your Design
Before jumping into construction, take some time to plan your shelf design. Begin with measuring the space where you intend to place the shelf. It is advisable to sketch a rough layout; include the dimensions and shape of the desired shelf. Think about what items will sit on these shelves—this helps you determine the necessary shelf depth and spacing. Ensure that your design accounts for weight distribution, especially if you plan to use these shelves for heavier plants or gardening tools. Having a clear vision before you begin will save you time and effort.
Step Two: Gathering Materials
Once you have your design sketched, gather all the necessary materials. Visit your local hardware store and pick up the treated lumber, wood screws, and any other items on your list. While selecting your wood, look for pieces that are straight and free of cracks or defects. Remember to grab your tools too—make sure you have a saw, drill, sandpaper, and a leveling tool ready for action. Gathering everything ensures that you can work efficiently without unnecessary interruptions.
Step Three: Cutting and Prepping the Wood
Next, based on your design, cut the wood to the required lengths. Use the saw for straight cuts and follow your measurements carefully. Once all the pieces are cut, take the sandpaper to smooth any rough edges. This step not only improves aesthetics but also prevents splinters and ensures the safety of anyone who might come into contact with the shelves. Once sanded smooth, you can apply your choice of wood stain or outdoor paint for added protection and enhanced appearance.
Step Four: Assembly and Installation
With the wooden pieces ready, it’s time to assemble the shelf. Start by forming the frame according to your design. Use wood screws to connect the pieces securely and add wood glue for further stability where necessary. After the main frame is established, install additional support beams for extra strength, especially if your shelves will hold significant weight. Once assembled, mount your shelf in place, ensuring it’s level with the leveling tool. If you’re using brackets, attach them to secure the shelf firmly to the wall or supporting structure.
Full Cooking Directions —
With your materials at hand and understanding of the steps, let’s discuss the full directions to bring your creative DIY shelf to life.
Begin by meticulously measuring the area where you plan to install your outdoor shelf. Precision in measuring is critical; improper dimensions will complicate installation and may require adjustments or reworking. Sketch out a plan that includes the specific dimensions of your shelf so that you can visualize what you’re creating. Take your time with this step—as they say, a well-laid plan is the foundation of success.
Next, head to your local hardware store to gather all necessary materials. Ensure you choose high-quality treated lumber for outdoor durability and longevity. Look for straight pieces with no visible cracks for the best results. Don’t forget to pick up your tools, as having everything at the ready will streamline your work process.
Upon returning home, it’s time for cutting. Follow the measurements specified in your outline, taking special care with the saw to ensure each cut is straight and precise. After cutting the wood, grab your sandpaper; smoothing the edges is vital for safety and aesthetics. Once the surfaces are to your satisfaction, apply wood stain or paint. This finishing touch not only adds visual interest but helps shield the wood from environmental damage.
Finally, as you assemble and install the shelves, think about the capacity they must support. Make sure each piece is secured tightly; use screws and glue generously to enhance the stability. Add brackets if required, and always double-check that everything is level before you call your project complete.
Pro Tips & Extra Guidance
Creating your outdoor shelving can be a rewarding pursuit, but a few pro tips can elevate the final results. First, consider your local climate when choosing your materials. Select wood that withstands weather extremes, such as cedar or redwood. Second, if you’re inexperienced with tools, seek help or watch instructional videos that guide you through each step.
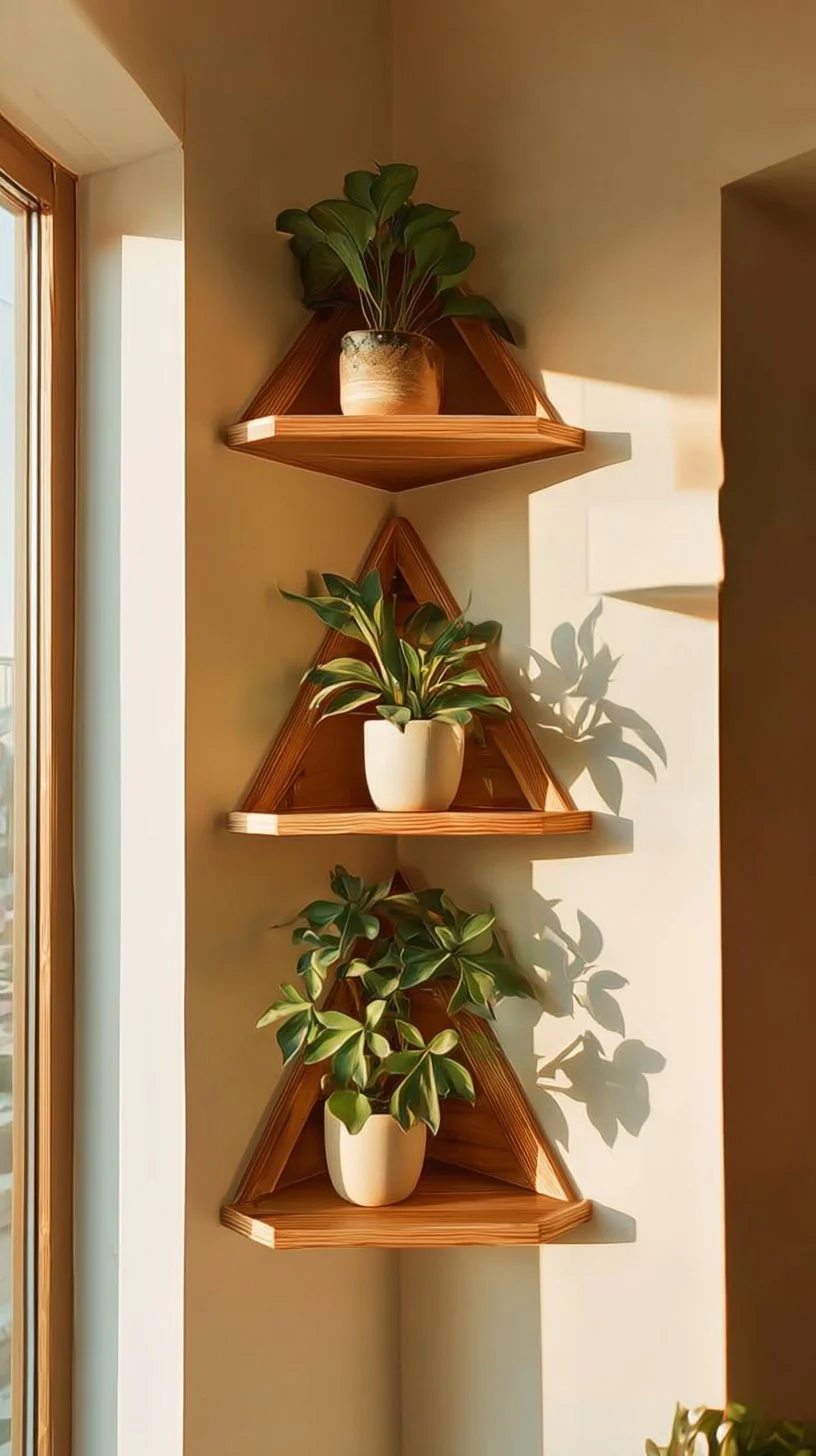
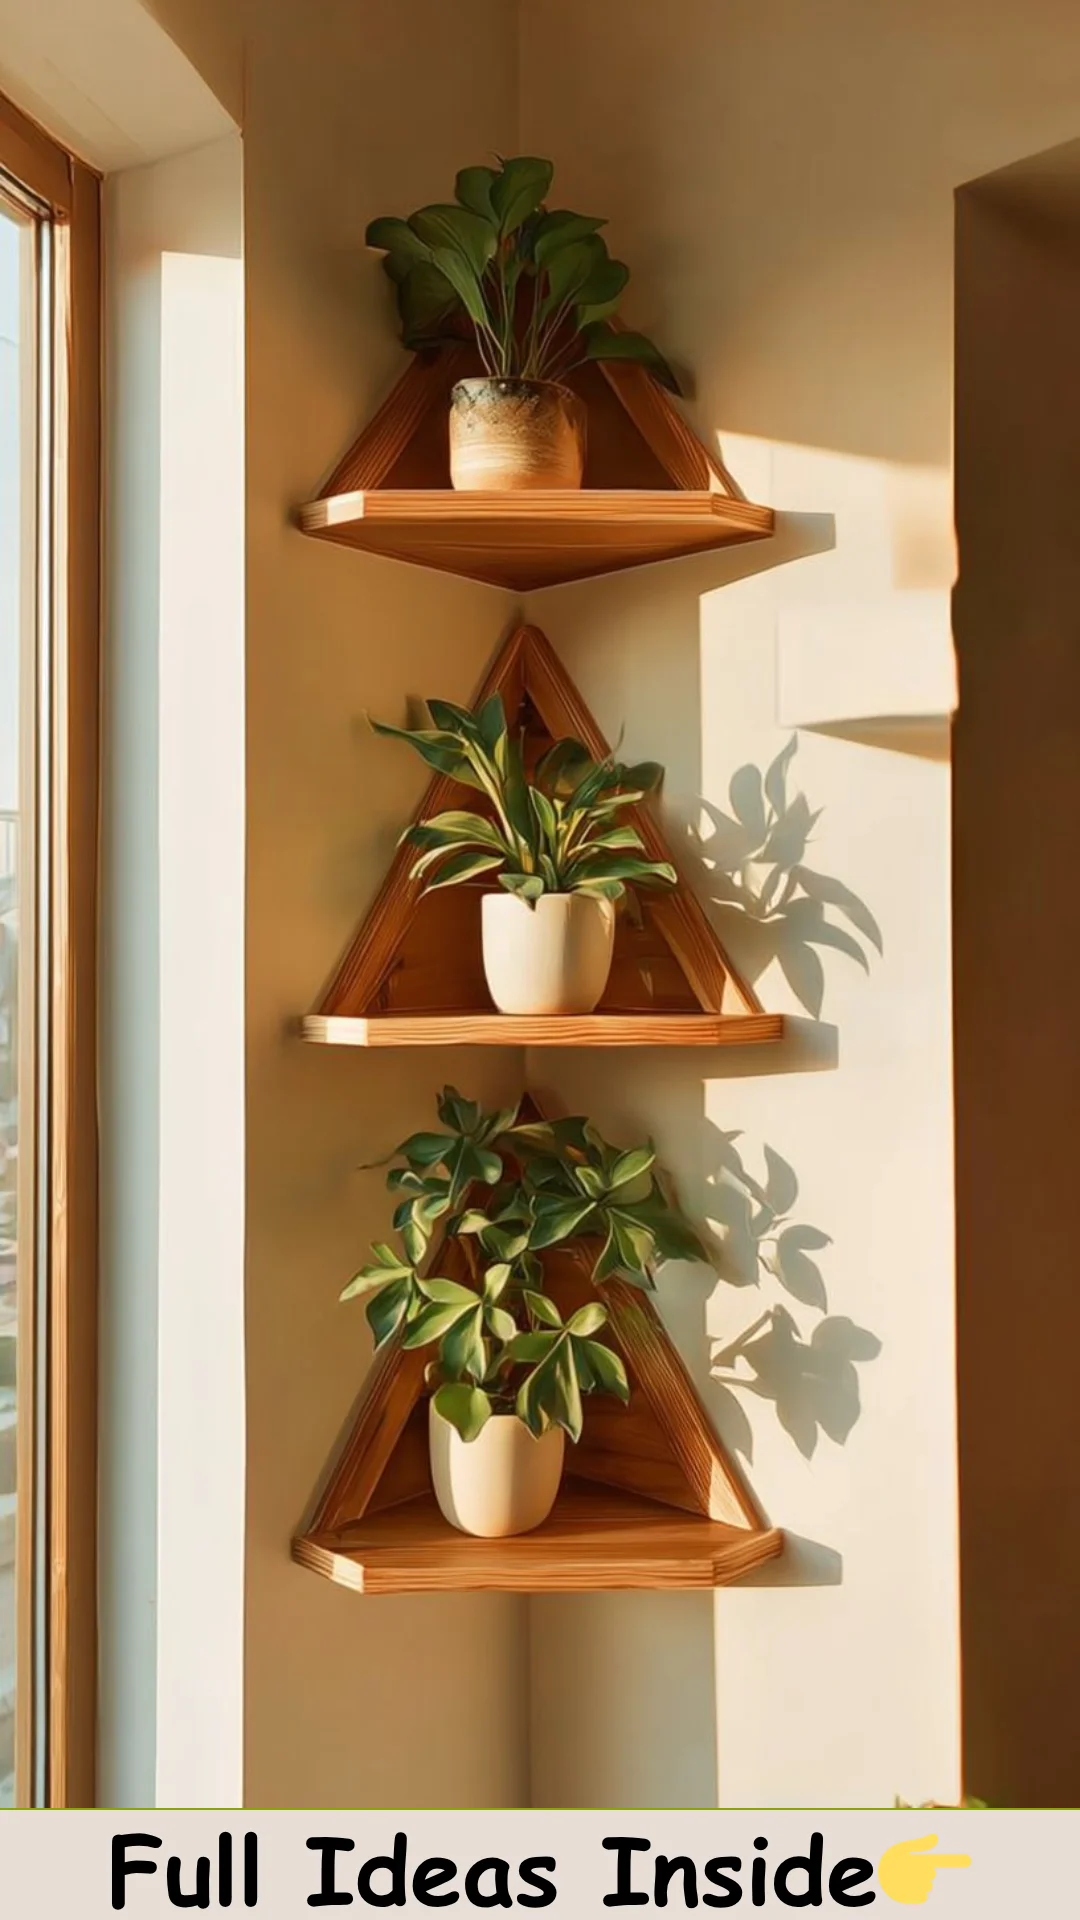
For a variety in your outdoor shelves, experiment with different shelf shapes—think triangular, circular, or staggered arrangements. Plan for vertical growth, allowing plants to cascade over the edges for an eye-catching look. Moreover, personalize your design with external elements like climbing plants, decorative pots, or fairy lights for ambiance in the evenings.
If you encounter challenges like wobble or strength issues, reinforce the structure with additional brackets or stabilization beams. This additional support enhances safety for items atop the shelves.
Best Practices for Storing & Reheating
Once your DIY outdoor shelves are up, effective storage and upkeep are essential. To maintain the aesthetic and longevity of your shelves, avoid keeping items that could retain moisture, particularly if your climate is humid. Use waterproof containers or pots when organizing your gardening supplies.
For cleaning, regularly remove dust and debris that may accumulate. Maintain the protective finish of the wood by reapplying stain or sealer as recommended, particularly if you notice peeling or fading. In the event an item falls and causes damage, be prepared with wood fillers or repair kits to address any scratches or dents promptly.
Common Questions Answered
What type of wood is best for outdoor shelves?
When it comes to outdoor shelving, cedar, redwood, or pressure-treated pine are excellent choices, given their resistance to insects and rot.
How do I ensure my shelves are secure?
Always use sturdy screws and, where appropriate, choose brackets for additional support. Securely connect all joints and ensure your shelves are level before installation.
Can I use these shelves for plants?
Absolutely! Many choose to use outdoor shelves for displaying plants, allowing for better drainage and exposure to sunlight.
Do I need to treat the wood?
Yes, treating the wood with stains or sealants protects against moisture and UV damage, ensuring the longevity of your DIY shelves.
What should I consider when choosing a location for my shelves?
Think about sunlight exposure if you’re displaying plants, as well as accessibility for storing and organizing tools.
Can I paint my shelves after assembly?
While it’s advisable to stain or paint before assembly, touch-ups can be done after installation, but ensure the environment is suitable for painting.
Is there a weight limit for these shelves?
Yes, it depends on the construction and materials used. Ensure you calculate potential weight before deciding on shelf capacity.
Final Thoughts + Call to Action
Creative DIY outdoor shelf ideas offer endless possibilities for transformation and functionality in your outdoor living spaces. With a bit of planning, a handful of materials, and a sprinkling of creativity, you can create beautiful and practical outdoor shelves that are bound to enhance your experience in nature. So, gather your supplies and start your project today—there’s no better time to breathe new life into your outdoor areas!