
Follow Me On Social Media!

DIY Floating Shelves for Small Spaces
DIY Floating Shelves for Small Spaces
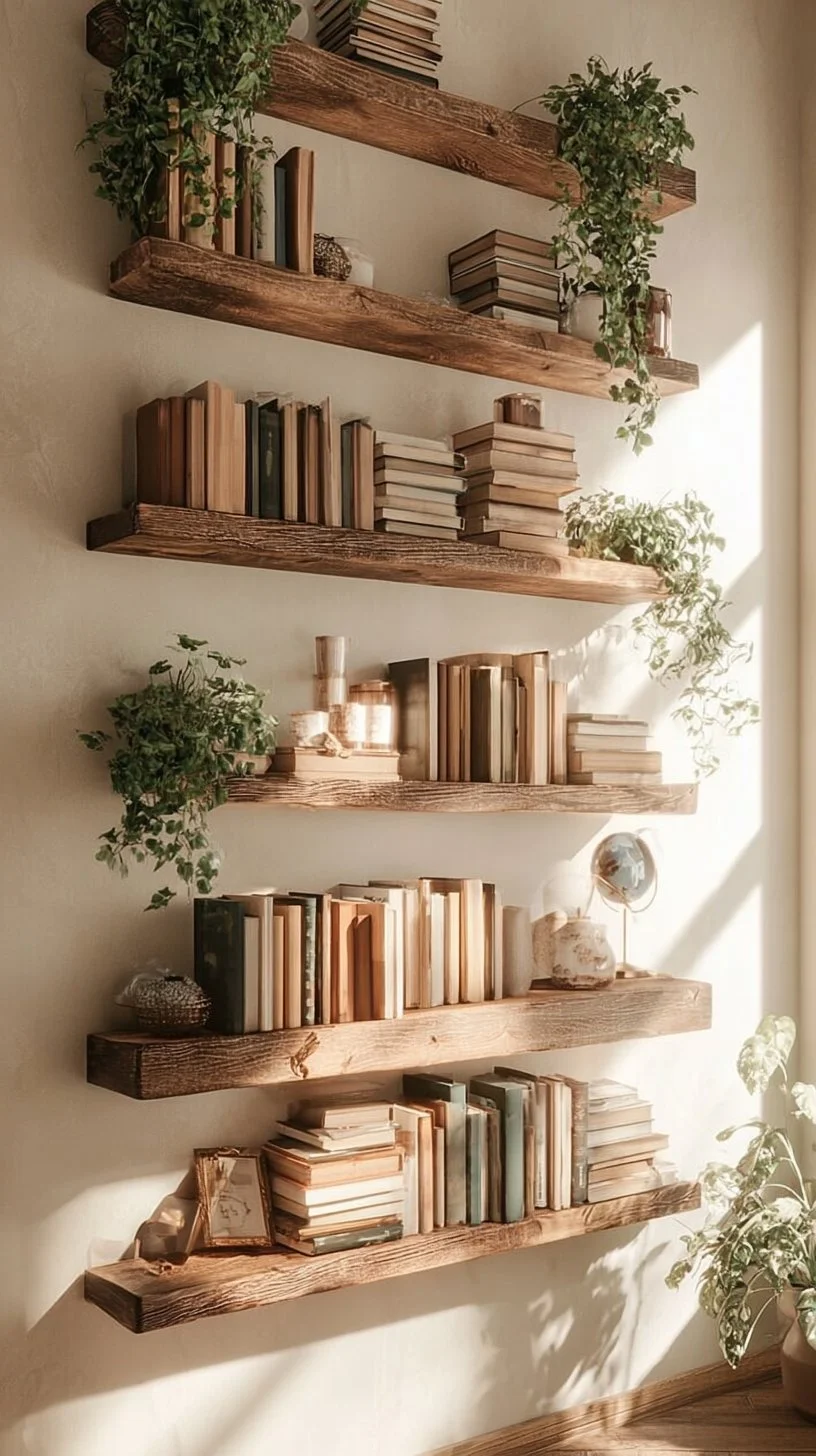
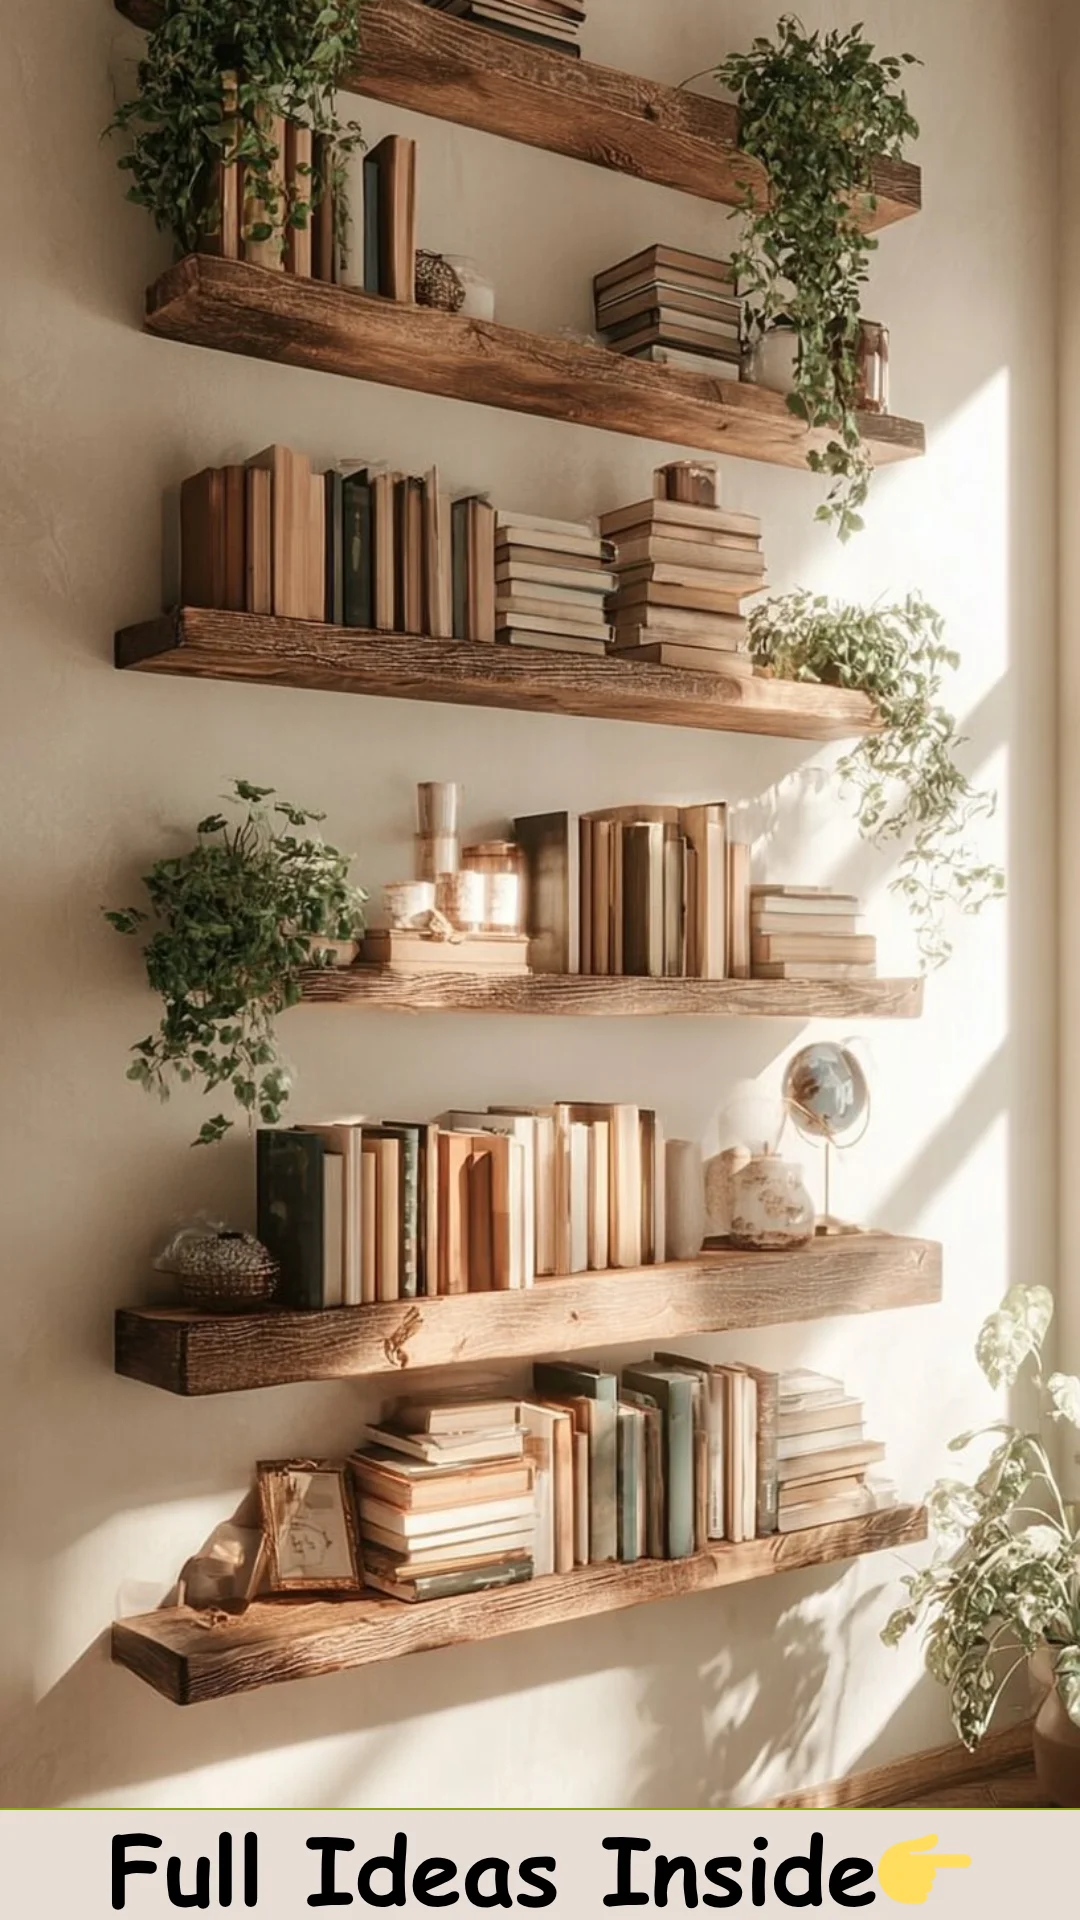
DIY Floating Shelves for Small Spaces are a fantastic solution for anyone struggling to make the most of their limited living area. By creatively using wall space, you can easily add storage and style to any room in your home. These shelves not only solve storage issues but also allow you to showcase your favorite decor, photos, and books, effectively transforming your small space into a functional and aesthetic environment. Whether you’re in a cozy apartment or a minimalist home, making your own floating shelves gives you the freedom to personalize them just the way you like.
What Makes This Recipe Stand Out
DIY Floating Shelves for Small Spaces presents an affordable and innovative way to enhance your home. Unlike typical shelving solutions that often take up considerable floor space, floating shelves offer a clean, modern aesthetic that keeps the room open and airy. The simplicity and elegance of these shelves allow them to blend seamlessly with any decor style, from contemporary to rustic, enabling you to express your unique taste in home design.
Furthermore, assembling these shelves can be an enjoyable and fulfilling project. You will not only save money by doing it yourself, but also gain the satisfaction of creating something valuable for your home. Each shelf can be customized in terms of size, color, and finish, making them truly one-of-a-kind pieces.
Throughout the process, you will learn essential skills such as measuring, cutting, and installing. This experience can foster a deeper appreciation for DIY projects and inspire you to take on more home improvement tasks in the future. Floating shelves make an impactful statement, maximizing vertical space while keeping your small area neat and organized.
Ingredient Breakdown
- Suitable wood or plywood boards
- Brackets for support
- Wood screws
- Drill
- Sandpaper
- Paint or wood stain (optional)
- Level tool
- Measuring tape
- Pencil
In crafting your DIY Floating Shelves for Small Spaces, the materials you choose play a crucial role in both the aesthetic and functionality of the shelves. Using sturdy wood or plywood ensures that your shelves can hold the items you intend to display without risk of damage or collapse. Brackets are essential for providing the necessary support, as they will keep the shelves securely mounted on the wall without visible hardware.
Wood screws connect the brackets to the wall and shelves, and employing a high-quality drill streamlines this process. Sandpaper is a simple yet vital component, as it smooths the edges of your wood, giving it a polished finish that enhances the overall look. Additionally, painting or staining your shelves not only adds a personal touch but also protects the wood from wear and tear.
When preparing for your project, having accurate tools like a level tool is important to ensure that your shelves are perfectly straight. A measuring tape and pencil come in handy for marking where you will install the brackets and shelves, ensuring precision that will lead to a professional look.
| Material | Purpose |
|———————|—————————————————-|
| Wood/Plywood | Structure and support for the shelves |
| Brackets | Keep shelves mounted without visible hardware |
| Wood screws | Connect brackets to walls and shelves |
| Drill | Simplify fastening the screws |
| Sandpaper | Smooth surface for a finished look |
| Paint/Stain | Add aesthetic appeal and protect the wood |
| Level tool | Ensure the shelves are straight |
| Measuring tape | Measure the dimensions for cutting and placing |
| Pencil | Mark locations on the wall for accuracy |
Step-by-Step Preparation for DIY Floating Shelves
Step One: Planning Your Design
Before you begin crafting your floating shelves, it’s essential to have a clear plan in place. Start by determining the ideal location for your shelves. Consider the purpose they will serve; will they be used for books, decorative items, or practical storage? Measuring the space available ensures that the shelves will fit appropriately without overcrowding the room. Take the time to decide on how many shelves you want and their dimensions. Sketch out a simple design to visualize the arrangement and spacing. Choosing the right height is crucial—shelves should be accessible yet not interfere with daily activities. This foundational step will give you guidance as you move towards the more hands-on aspects of the project.
Step Two: Gathering Your Materials
Once you’ve mapped out your plan, it’s time to gather all the necessary materials. Visit your local hardware store or shop for materials online to pick up wood or plywood for the shelves. Make sure to choose a type of wood that complements your existing decor. Additionally, purchase the appropriate brackets and wood screws designed to hold the weight of the items you plan to place on your shelves. Having everything ready before you start will streamline the assembly process and minimize delays.
Step Three: Preparing and Cutting the Wood
After collecting your materials, focus on preparing your wood. Start by measuring the lengths you determined during your planning phase and mark them clearly on the wood. Use a saw to cut accurately along these marks. It’s essential to ensure your cuts are straight for the shelves to sit snugly against the wall and appear polished. Once the wood is cut, sand the edges thoroughly to eliminate any rough spots; this step is vital for achieving a smooth finish. If you plan to paint or stain the shelves, now is the time to apply that finish, allowing it to dry completely before moving on.
Step Four: Installing the Shelves
The final step involves installing your shelves. Begin by using your level tool to mark the spots on the wall where the brackets will go. It’s important to ensure that these lines are straight, as this will affect the overall appearance of your shelves. Drill holes into the wall at the marked spots, then secure the brackets using wood screws. After the brackets are firmly in place, gently slide the prepared shelves onto them. Take a moment to adjust and level the shelves for a perfect fit. Finally, review your work to ensure everything is stable and secure before loading your new shelves with books, plants, or cherished items.
Full Cooking Directions
A deep understanding of the assembly process enhances confidence and results in beautifully crafted shelves. Start by planning your design with careful consideration of the intended space and function of your shelves. Aim to maximize your small room, allowing yourself the flexibility to arrange items while keeping the aesthetic clean and uncluttered.
Once you establish a design, gather all the necessary materials and tools. Head to your nearest hardware store and select the best wood or plywood, depending on durability and style. Pay attention to the quality and thickness of the wood you choose, as it plays a significant role in the overall strength of your shelves.
Prepare your wood by cutting it into the desired lengths with precision. Make sure to use sandpaper to smoothen the edges, as rough cuts can lead to splinters and an unprofessional appearance. Depending on your preference, apply paint or stain for a lasting finish that enhances both durability and visual appeal.
Install your floating shelves with confidence, ensuring the brackets are secured tightly to the wall. Proper alignment is crucial; utilize a level to guarantee accuracy throughout the process. After installing the brackets, gently position the shelves atop them, securing them in place. Take a step back and admire your handiwork—savor the transformation in your space!
Pro Tips & Extra Guidance
When it comes to creating DIY floating shelves, a few pro tips can elevate your project from good to exceptional. First, always use a drill with the appropriate bit size to avoid splitting the wood. Pre-drilling holes can prevent cracking and ensure a smoother screw installation.
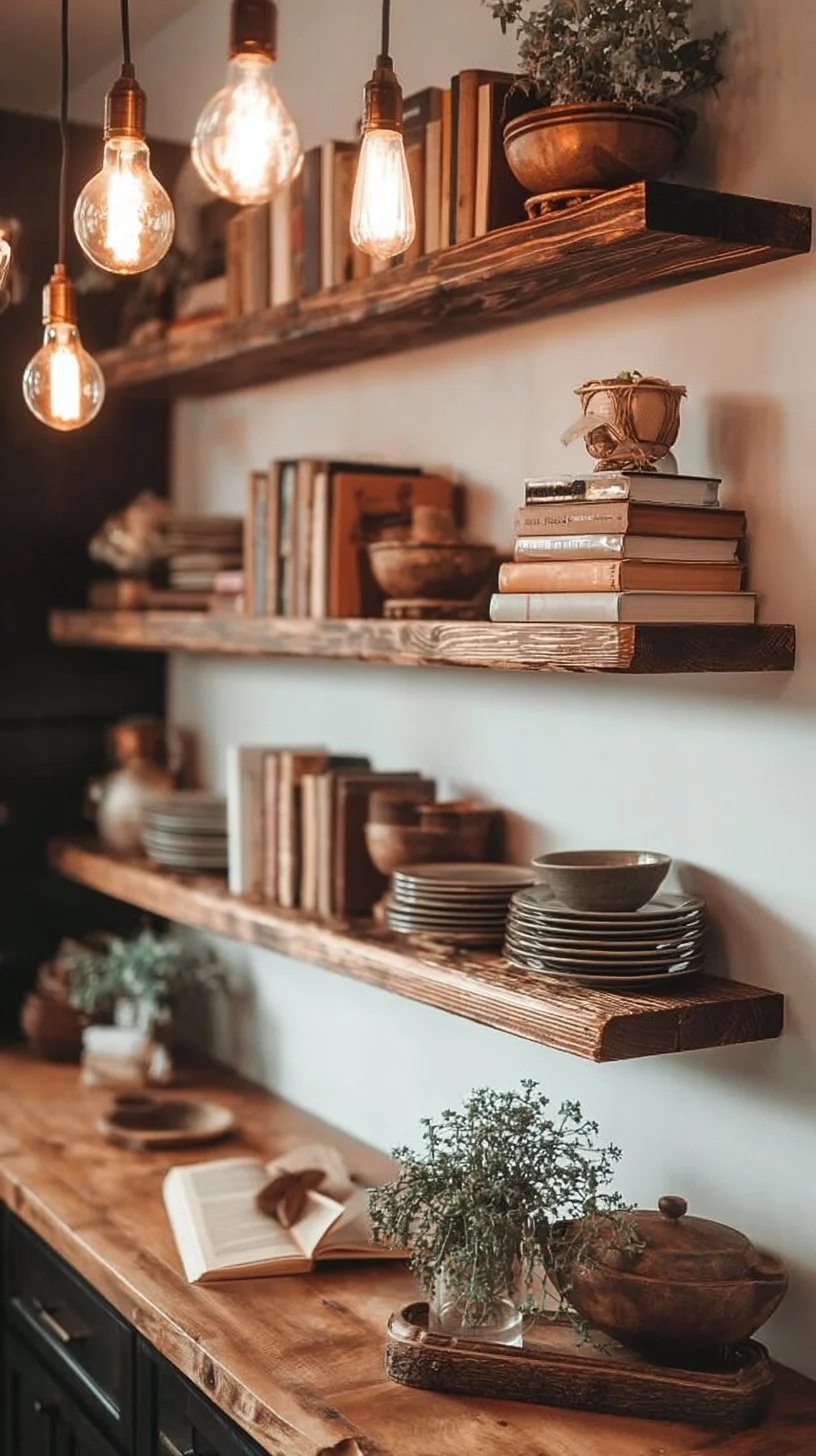
Additionally, consider using brackets that are both functional and aesthetically appealing. Concealed brackets, while more complex to install, offer a truly seamless look, which may enhance the feeling of space in smaller areas. If you’re feeling adventurous, experiment with unique shelf shapes, including L-shaped or tiered designs, to add a contemporary touch.
Remember that decorative items can attract dust over time. If your shelves are located in an area prone to debris, add a slight change in angle or use a more enclosed design to mitigate dust collection. Regular cleaning will keep your floating shelves looking their best.
Lastly, don’t hesitate to share your projects online! Photographing your shelves can inspire others who might be struggling with their own small space challenges.
Best Practices for Storing & Reheating
To keep your DIY Floating Shelves in excellent condition, it’s crucial to follow a few best practices for maintenance. Regularly inspect the shelves for any signs of wear, such as loose brackets or weak wood. If you notice any instability, promptly tighten screws or refill any gaps with wood filler to extend the life of your shelves.
When storing items on your floating shelves, avoid placing excessively heavy objects that exceed the weight limit of the brackets. Distributing weight evenly across the shelves will help prevent sagging over time. Always consider the function of the items on display—using decorative boxes to contain smaller items can keep the shelves organized and visually appealing.
Reheating the aesthetic appeal of your decorative displays can refresh your space without a complete overhaul. Rotate the items or add seasonal decor to maintain a dynamic look. Every time you change the display, it will feel like a new space, keeping your environment invigorating and engaging.
Common Questions Answered
How much weight can floating shelves hold?
The weight capacity of floating shelves largely depends on the type of brackets used and the quality of the materials. Standard floating shelf brackets can typically hold between 15 to 50 pounds. Always choose brackets rated for the intended load and ensure they are properly installed.
What type of wood is best for floating shelves?
When selecting wood, consider using hardwoods like oak or maple, which are durable and can support heavier loads. If you’re maintaining a budget, plywood is also a good choice due to its strength and ability to be easily refinished or painted.
Can you install floating shelves in a drywall?
Yes, floating shelves can be installed in drywall as long as you use the correct anchoring methods. If the shelves are heavy, it is advisable to locate wall studs and affix the brackets directly into them for additional support.
How can I finish the wood for my shelves?
You can finish your wood by sanding it down, cleaning off the dust, and applying a wood stain or paint. Ensure the finish you choose fits your overall decor theme while providing added protection from scratches and moisture.
What tools do I need for this project?
To build floating shelves, you will typically need a saw, drill, measuring tape, level, sandpaper, and a screwdriver. The specific tools required may vary based on the complexity of your design.
How do I keep my floating shelves clean?
To clean your floating shelves, dust regularly using a soft cloth. If your shelves are particularly dusty or dirty, you can use a damp cloth followed by a dry one to avoid moisture buildup.
Can I find pre-made floating shelves?
Yes, many home improvement stores and online retailers offer pre-made floating shelves in various styles and sizes. However, making your own provides the opportunity to customize according to your specific needs and design preferences.
Final Thoughts + Call to Action
Creating DIY Floating Shelves for Small Spaces is both a rewarding and practical project. Not only do you enhance your home’s storage and display options, but you also cultivate a sense of accomplishment by completing the project yourself. Every time you look at your shelves, you will be reminded of your creativity and capability.
Now that you’ve explored how to make these chic and functional shelves, it’s time to take action! Gather your materials, draw up your design, and embark on your project’s journey today. Your small space can be transformed into a functional and decorative oasis, so launch into this DIY adventure and embrace all the possibilities that await!